If you can find a commercial pattern with several sizes, you can merge the cutting lines between sizes for a FBA / SBA.
I assume you know how to choose a commercial pattern for a top using your high bust measurement, if you have a bust cup size other than a B-cup.
Daca gasiti un tipar cu mai multe marimi, puteti sa face modificarea pentru sani mari / sani mici, folosindu-va de liniile diferitelor marimi din tipar.
Presupun ca stiti deja cum sa alegeti un tipar in functie de masura toracelui peste sani (am sa folosesc de acum inainte 'high bust', pentru ca este mai scurt), daca aveti o cupa de sutien mai mare sau mai mica decat cupa B.

You need two measurements (high bust and full bust). Find the lines for these two measurements on your multi sized pattern and mark them. Mark also the size between them. Or the sizes between them.
Aveti nevoie de aceste doua masuri: masura de la 'high bust' si masura peste sani ('full bust' de acum inainte, masura reala a bustului). Cautati pe tipare liniile care corespund acestor masuri si marcati-le sau copiati-le. Veti copia si liniile masurii sau masurilor intermediare.

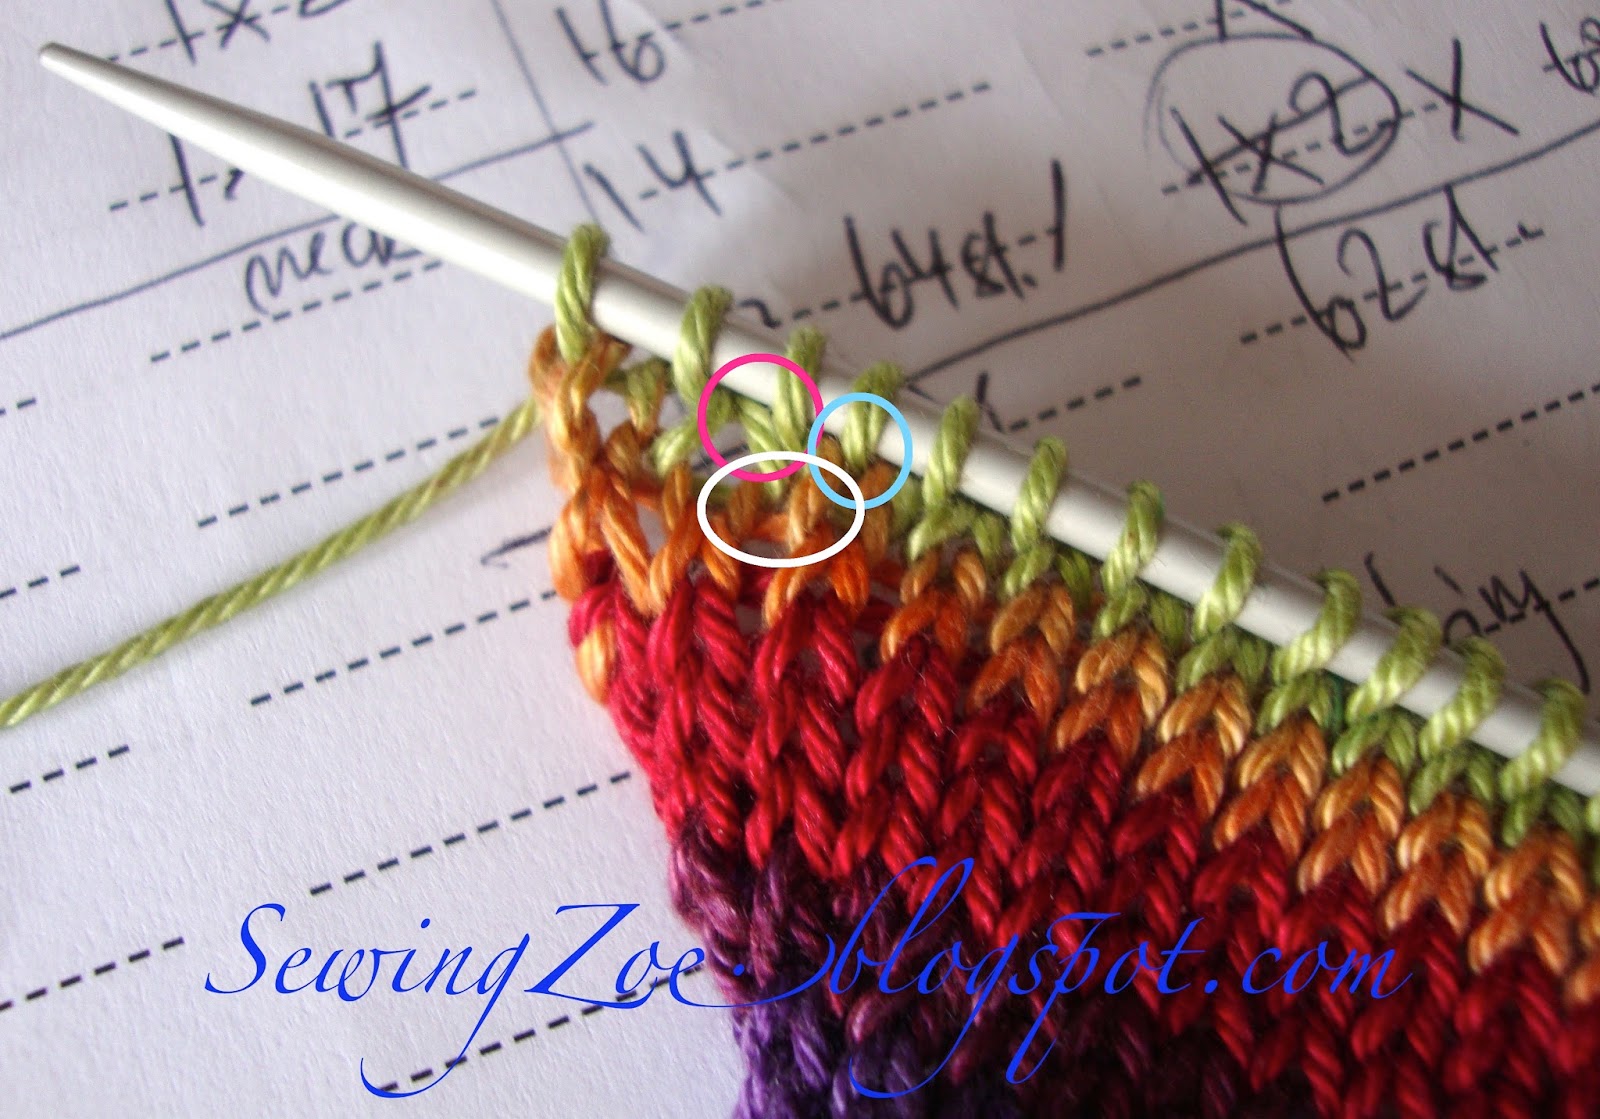
In my pattern I have one size between the pattern corresponding to my full bust and the pattern for my high bust. Full bust line is red and high bust line is green.
The final grading line (pink) should not be in this picture. It is, because I did not intend to make a tutorial when I adjusted the bust for myself. Only later I realised that I should make a tutorial (Fig. 2).
La mine am: high bust = verde; full bust = rosu si masura intermediara = galben (Fig. 2)
Linia finala pe care o obtin dupa ce am terminat de marcat linia subratului este roz. In acest stadiu nu ar fi trebuit sa apara in poza, dar am inceput sa fac poze dupa ce am terminat alteratia tiparului, pentru ca nu m-am inainte ca nu ar fi rau sa fac un tutorial.
You need to grade up or down from your high bust in the neck/shoulder area to the line representing your full bust in the bust / armhole area.
Alteratia pentru sani mari / sani mici de care vorbesc inseamna ca trebuie sa stabilesc linia corecta a subratului de la umar pana la punctul de sub brat.
La alteratia pentru sani mari punctul de sub brat va fi in afara liniei de tipar de la 'high bust'. Pentru sani mici, linia subratului se va muta in sens invers.
The most common method to do this (Kathleen Cheetham's) is to put a French curve ruler on the high bust line (Fig. 3) ...
Cea mai cunoscuta metoda (a lui Kathleen Cheetham) este sa pui un florar (French curve ruler) peste linia de la ' high bust' ca in poza...

... and to pivot it (swing it) from the shoulder / armhole point until it meets the full bust line (Fig. 3).
... si sa il pivotezi din punctul de pe umar pana atinge linia de 'full bust' (Fig. 3).

If you do so, you will add a lot to the high bust pattern.
Not only the green cross hatched part in the armhole area (which you need to add for a bull bust adjustment), but the part marked with blue, starting from the shoulder point, as well.
If you have normal arms / biceps and do not have a broad back, you do not want extra fabric in the upper part of the bodice.
Insa daca faceti asa, veti largi tiparul asa cum se vede in Fig. 3.
Problema este ca nu veti adauga numai unde avem nevoie de largime si lungime peste bust, ci si in regiunea superioara a pieptului, adica de la umar pana la jumatatea rascroiturii manecii.
In Fig. 3 veti vedea cele trei linii importante:
* verde = high bust;
* verde la inceput si apoi negru/ roz = linia finala a rascroiturii;
* albastru = linia e care o obtin folosind metoda traditionala.
Portiunea hasurata cu verde trebuie adaugata oricum. Dar nu si portiunea hasurata cu albastru, de care nu am nevoie si care va face ca bluza sau tricoul sa nu pice bine.
I tried to take a picture of myself in a t-shirt with extra fabric in the upper part. The picture is bad, I am not wearing my best bra (well, it happens; I was again too lazy to change). But you can see more or less what I mean.
Am incercat sa fac o poza cu un t-shirt in care am facut modificarea dupa Kathleen Cheetham. Poza nu este buna si nici nu am un sutien bun (se intampla, cizmarul umbla cu pantofii rupti), dar puteti vedea ce vreau sa spun.

By the way, on the PaternMaster Boutique group I read that persons with a full bust have to 'scoop' the armhole in the software. I did not understand very well why, when I read it, but now I do.
Apropo, pe grupul de tipare pe computer PaternMaster Boutique am citit acum un an-doi ca pentru sani mari / cupa D / se recomada sa tai din rascroitura subratului ca sa iti iasa tiparul mai bine.
Pe vremea aceea nu am inteles ce voia sa spuna Belinda din Australia, dar acum inteleg.
So, how do you grade from one size (high bust) to another size (full bust) in a multisided commercial pattern?
Si deci ce trebuie sa facem ca sa adaptam un tipar folosindu-ne de marimi diferite?
1. Place the French curve ruler on the high bust line ...
Plasati florarul peste linia de tipar de ' high bust'...

... but do not use the shoulder point as the pivot point.
... dar nu folositi punctul din umar ca punct de pivotat.
2. Choose a lower point and swing from that point until you meet the next bigger [or smaller size for SBA] (the yellow line) in the multi sized pattern. Choose a point above where you feel that the breast tissue 'starts to grow' on the chest. One third of the armscye length, perhaps?!?
Do not pay attention to the second pink arrow in Fig. 6, because I made a mistake when I tried to draw using the Paintbrush software. I should have placed the pink arrow at the crosspoint between the pink line and the yellow line (42" marking). This is the next pivot point for the last part of the grading from high bust to full bust.
Alegeti un punct de pivotat, mai jos. Va uitati unde sanul incepe sa se formeze pe torace (1/3 din lungimea subratului?!?), ca sa determinati punctul de pivotat.
ATENTIE.
In Fig. 6 am facut o greseala cand am desenat cu Paintbrush pe poza. Am pus a doua sageata roz (punctul de intersectie cu linia masurii intermediare) mult prea jos. Plasarea corecta ar fi fost in punctul de intersectei al liniei galbene cu linia definitiva roz/albastra, adica in punctul care demarcheaza 42" pe florar.

3. From this intersection point (42") you have to pivot the French curve until it meets the full bust line (red) - Fig. 8.
You are done.
Din acest punt (42") pivotati florarul pana intersecteaza linia de ' full bust' (Fig. 8). Ati terminat de desenat linia rascroiturii subratului.


This is my NEW method to get the correct armhole when I grade between sizes in a commercial pattern.
Aceasta este metoda NOUA pe care o folosesc ca sa obtin rascroitura bratului corecta, cand modific un tipar comercial cu mai multe marimi.
For a SBA / small bust adjustment you will have to swing in the French curve, because the full bust pattern will be narrower than the high bust pattern. You do not add fabric over the bust, you take fabric off.
Pentru sani mai mici decat cupa B va trebui sa pivotati in sens invers. Aici nu adaugi material - lungime si largime) peste bust, scoti excesul de material.
In both cases it is important that the neck and shoulders areas fit well, because a tops hangs from the shoulders.
In ambele cazuri scopul este sa ai un tipar care iti vine perfect peste gat si umeri, pentru ca o bluza sau un tricou atarna de pe umeri, care trebuie sa fie exact pe masura ta.
I hope it helped you to understand how to fix the armhole half way between the shoulder point and the under arm point.
Another topic.
As you see, I have an accentuated forward shoulder (will this be my next posting about sewing?!?).
Since my job requires to write on the computer all the time, I have a bad posture: forward shoulders and a round back. I hate that, but I am too lazy to fix it.
Sper ca v-am ajutat sa intelegeti cum trebuie sa corectati rascroitura manecii intre umar si subrat.
Alt aspect.
Dupa cum vedeti in poza, mai am inca un defect care necesita alterarea oricarui tipar comercial pe care il folosesc: capul umarului indreptat spre fata (urmatoarea postare poate sa fie despre asta?!?). Acest defect provine din faptul ca la slujba stau mult la computer. Aproape tot timpul trebuie sa scriu lucrari sau sa caut jurisprudenta pe computer. Rezultatul: umeri spre fata si spatele usor cocosat. Sunt insa prea lenesa ca sa imi aduc aminte sa fac exercitii fizice.
Happy sewing! / Spor la cusut!
I assume you know how to choose a commercial pattern for a top using your high bust measurement, if you have a bust cup size other than a B-cup.
Daca gasiti un tipar cu mai multe marimi, puteti sa face modificarea pentru sani mari / sani mici, folosindu-va de liniile diferitelor marimi din tipar.
Presupun ca stiti deja cum sa alegeti un tipar in functie de masura toracelui peste sani (am sa folosesc de acum inainte 'high bust', pentru ca este mai scurt), daca aveti o cupa de sutien mai mare sau mai mica decat cupa B.

Fig. 1
You need two measurements (high bust and full bust). Find the lines for these two measurements on your multi sized pattern and mark them. Mark also the size between them. Or the sizes between them.
Aveti nevoie de aceste doua masuri: masura de la 'high bust' si masura peste sani ('full bust' de acum inainte, masura reala a bustului). Cautati pe tipare liniile care corespund acestor masuri si marcati-le sau copiati-le. Veti copia si liniile masurii sau masurilor intermediare.

Fig. 2
In my pattern I have one size between the pattern corresponding to my full bust and the pattern for my high bust. Full bust line is red and high bust line is green.
The final grading line (pink) should not be in this picture. It is, because I did not intend to make a tutorial when I adjusted the bust for myself. Only later I realised that I should make a tutorial (Fig. 2).
La mine am: high bust = verde; full bust = rosu si masura intermediara = galben (Fig. 2)
Linia finala pe care o obtin dupa ce am terminat de marcat linia subratului este roz. In acest stadiu nu ar fi trebuit sa apara in poza, dar am inceput sa fac poze dupa ce am terminat alteratia tiparului, pentru ca nu m-am inainte ca nu ar fi rau sa fac un tutorial.
You need to grade up or down from your high bust in the neck/shoulder area to the line representing your full bust in the bust / armhole area.
Alteratia pentru sani mari / sani mici de care vorbesc inseamna ca trebuie sa stabilesc linia corecta a subratului de la umar pana la punctul de sub brat.
La alteratia pentru sani mari punctul de sub brat va fi in afara liniei de tipar de la 'high bust'. Pentru sani mici, linia subratului se va muta in sens invers.
The most common method to do this (Kathleen Cheetham's) is to put a French curve ruler on the high bust line (Fig. 3) ...
Cea mai cunoscuta metoda (a lui Kathleen Cheetham) este sa pui un florar (French curve ruler) peste linia de la ' high bust' ca in poza...

Fig. 3
... and to pivot it (swing it) from the shoulder / armhole point until it meets the full bust line (Fig. 3).
... si sa il pivotezi din punctul de pe umar pana atinge linia de 'full bust' (Fig. 3).

Fig. 3
If you do so, you will add a lot to the high bust pattern.
Not only the green cross hatched part in the armhole area (which you need to add for a bull bust adjustment), but the part marked with blue, starting from the shoulder point, as well.
If you have normal arms / biceps and do not have a broad back, you do not want extra fabric in the upper part of the bodice.
Insa daca faceti asa, veti largi tiparul asa cum se vede in Fig. 3.
Problema este ca nu veti adauga numai unde avem nevoie de largime si lungime peste bust, ci si in regiunea superioara a pieptului, adica de la umar pana la jumatatea rascroiturii manecii.
In Fig. 3 veti vedea cele trei linii importante:
* verde = high bust;
* verde la inceput si apoi negru/ roz = linia finala a rascroiturii;
* albastru = linia e care o obtin folosind metoda traditionala.
Portiunea hasurata cu verde trebuie adaugata oricum. Dar nu si portiunea hasurata cu albastru, de care nu am nevoie si care va face ca bluza sau tricoul sa nu pice bine.
I tried to take a picture of myself in a t-shirt with extra fabric in the upper part. The picture is bad, I am not wearing my best bra (well, it happens; I was again too lazy to change). But you can see more or less what I mean.
Am incercat sa fac o poza cu un t-shirt in care am facut modificarea dupa Kathleen Cheetham. Poza nu este buna si nici nu am un sutien bun (se intampla, cizmarul umbla cu pantofii rupti), dar puteti vedea ce vreau sa spun.

Fig. 4
By the way, on the PaternMaster Boutique group I read that persons with a full bust have to 'scoop' the armhole in the software. I did not understand very well why, when I read it, but now I do.
Apropo, pe grupul de tipare pe computer PaternMaster Boutique am citit acum un an-doi ca pentru sani mari / cupa D / se recomada sa tai din rascroitura subratului ca sa iti iasa tiparul mai bine.
Pe vremea aceea nu am inteles ce voia sa spuna Belinda din Australia, dar acum inteleg.
So, how do you grade from one size (high bust) to another size (full bust) in a multisided commercial pattern?
Si deci ce trebuie sa facem ca sa adaptam un tipar folosindu-ne de marimi diferite?
1. Place the French curve ruler on the high bust line ...
Plasati florarul peste linia de tipar de ' high bust'...

Fig. 5
... but do not use the shoulder point as the pivot point.
... dar nu folositi punctul din umar ca punct de pivotat.
2. Choose a lower point and swing from that point until you meet the next bigger [or smaller size for SBA] (the yellow line) in the multi sized pattern. Choose a point above where you feel that the breast tissue 'starts to grow' on the chest. One third of the armscye length, perhaps?!?
Do not pay attention to the second pink arrow in Fig. 6, because I made a mistake when I tried to draw using the Paintbrush software. I should have placed the pink arrow at the crosspoint between the pink line and the yellow line (42" marking). This is the next pivot point for the last part of the grading from high bust to full bust.
Alegeti un punct de pivotat, mai jos. Va uitati unde sanul incepe sa se formeze pe torace (1/3 din lungimea subratului?!?), ca sa determinati punctul de pivotat.
ATENTIE.
In Fig. 6 am facut o greseala cand am desenat cu Paintbrush pe poza. Am pus a doua sageata roz (punctul de intersectie cu linia masurii intermediare) mult prea jos. Plasarea corecta ar fi fost in punctul de intersectei al liniei galbene cu linia definitiva roz/albastra, adica in punctul care demarcheaza 42" pe florar.

Fig. 6
3. From this intersection point (42") you have to pivot the French curve until it meets the full bust line (red) - Fig. 8.
You are done.
Din acest punt (42") pivotati florarul pana intersecteaza linia de ' full bust' (Fig. 8). Ati terminat de desenat linia rascroiturii subratului.

Fig. 7

Fig. 8
Aceasta este metoda NOUA pe care o folosesc ca sa obtin rascroitura bratului corecta, cand modific un tipar comercial cu mai multe marimi.
For a SBA / small bust adjustment you will have to swing in the French curve, because the full bust pattern will be narrower than the high bust pattern. You do not add fabric over the bust, you take fabric off.
Pentru sani mai mici decat cupa B va trebui sa pivotati in sens invers. Aici nu adaugi material - lungime si largime) peste bust, scoti excesul de material.
In both cases it is important that the neck and shoulders areas fit well, because a tops hangs from the shoulders.
In ambele cazuri scopul este sa ai un tipar care iti vine perfect peste gat si umeri, pentru ca o bluza sau un tricou atarna de pe umeri, care trebuie sa fie exact pe masura ta.
I hope it helped you to understand how to fix the armhole half way between the shoulder point and the under arm point.
Another topic.
As you see, I have an accentuated forward shoulder (will this be my next posting about sewing?!?).
Since my job requires to write on the computer all the time, I have a bad posture: forward shoulders and a round back. I hate that, but I am too lazy to fix it.
Sper ca v-am ajutat sa intelegeti cum trebuie sa corectati rascroitura manecii intre umar si subrat.
Alt aspect.
Dupa cum vedeti in poza, mai am inca un defect care necesita alterarea oricarui tipar comercial pe care il folosesc: capul umarului indreptat spre fata (urmatoarea postare poate sa fie despre asta?!?). Acest defect provine din faptul ca la slujba stau mult la computer. Aproape tot timpul trebuie sa scriu lucrari sau sa caut jurisprudenta pe computer. Rezultatul: umeri spre fata si spatele usor cocosat. Sunt insa prea lenesa ca sa imi aduc aminte sa fac exercitii fizice.
Happy sewing! / Spor la cusut!